We have created the following guide to demonstrate how text and images should be supplied as part of your website project. Please ensure all content is provided in accordance with the website design proofs and site structure. All content must be supplied by the date specified within the Project Schedule to ensure that it is uploaded as part of the content population included within the project.
1. Create a website content parent folder
This is where all content will be stored and should be labeled clearly as 'Company Name Website Content'(This folder can be set up in Google Drive or One Drive if preferred)

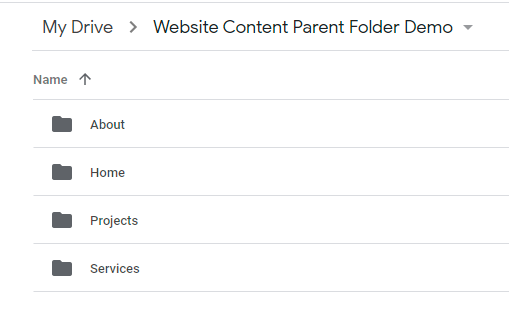
2. Create individual folders for all of your pages
Within your parent folder there should be individual folders for each of your pages, as shown below. These should be clearly labelled by the name of the page itself.
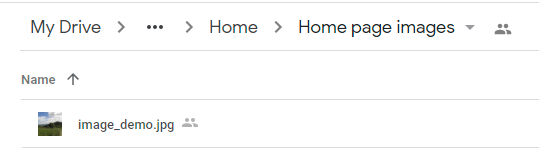
3. Add your images
Create an image folder within the individual page folder and add the relevant images for that page. Please ensure that you supply images in Jpeg format. See example shown below. (We would advise that original images are added here rather than images taken from social media profiles or received via WhatsApp to ensure the best quality.)
4. Add your page text content
Create an individual Word document (or pages if preferred) for each page and add to the relevant page folders. The text provided should follow the structure of the website proofs to ensure that it fits the design. (If you have opted to use our copywriter the content does not need to be added here.)
*Please note - No images should be included within the word document

5. Share your content folder with us
You can share your folder with us via We Transfer, or via Google Drive or One Drive. Alternatively, you can send us a USB stick via post.